If you're planning a renovation and want permanent roofline lighting, the time to act is when the studs are still exposed. Permanent roofline lighting installs once and lasts for decades, eliminating the hassle of seasonal ladder work. Here's exactly what you need to plan, wire, and control before the drywall crew shows up.
Trust me—I've cut this drywall open twice to add a conduit I should have run the first time. Save yourself the headache.
Why Permanent Roofline Lighting Beats Seasonal Lights
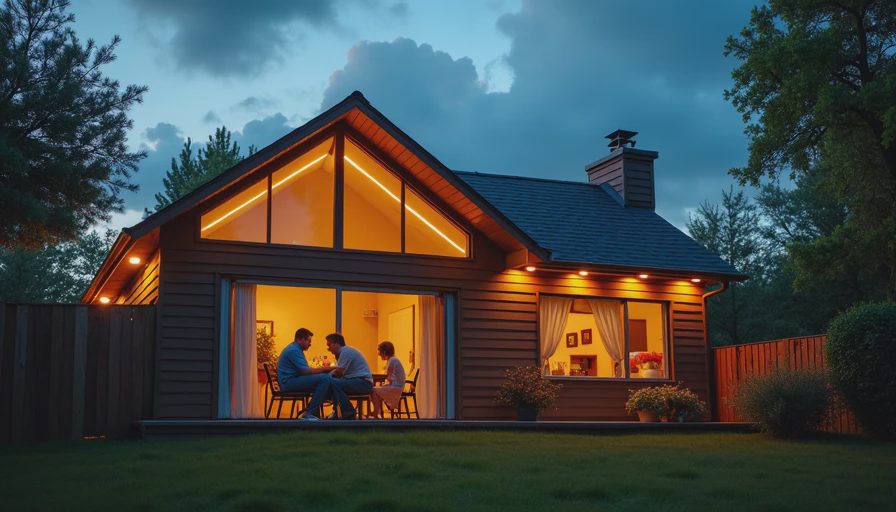
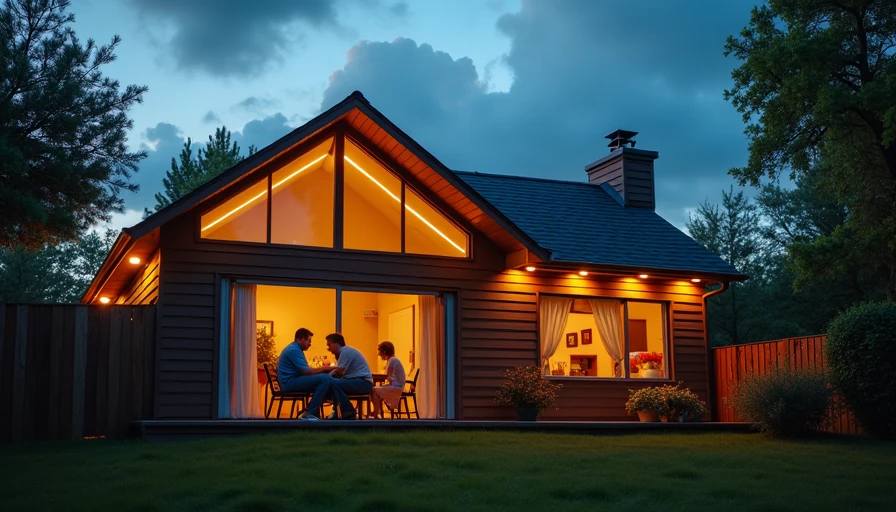
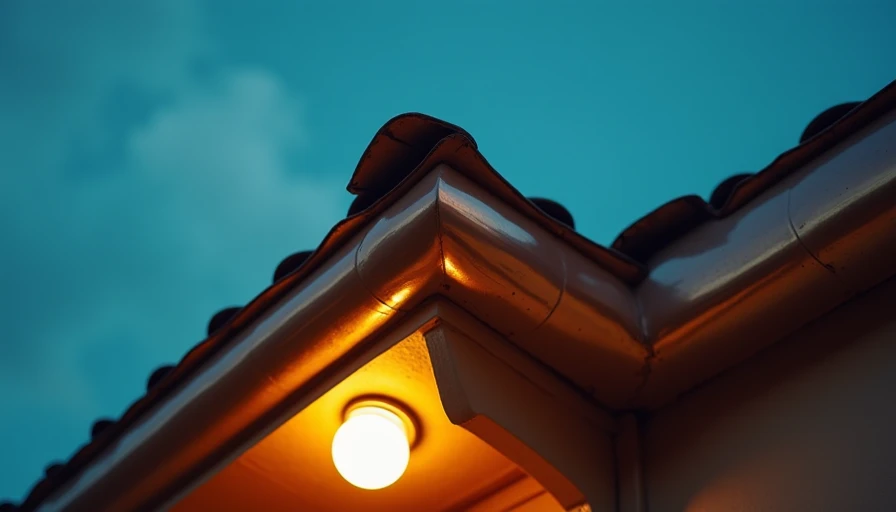
Seasonal clip-on lights look great for about two weeks, then you're wrestling with extension cords and blown fuses. Permanent roofline lighting uses low-voltage LED strips or puck lights housed in weatherproof channels that run along your fascia, gutters, or roofline. They stay up year-round, change color for holidays, and can be scheduled via an app. No more balancing on a ladder in December.
Common systems include the Philips Hue Play Gradient Lightstrip, Govee Permanent Outdoor Lights, and professional-grade offerings from companies like WAC Lighting. Prices range from $200 for a basic setup to over $1,500 for a fully integrated system with zone control.
Planning the Layout and Choosing Fixtures
Walk your roofline and decide where you want coverage. Typical runs include the front gable, eaves, and porch fascia. Sketch a line diagram showing each segment, noting where corners occur and where power will enter. For a two-story house, plan for a lower-level zone and an upper-level zone on separate circuits if you want independent control.
Fixture selection matters. Look for fixtures rated IP65 or higher for wet locations. Check beam angle: 120° flood gives broad wash, 60° spot creates accent pools. Also consider color temperature—2700K warm for year-round, or RGBW for holidays. Many permanent roofline lighting fixtures now support Matter, so they integrate seamlessly with Apple Home, Google Home, or Amazon Alexa.
Wiring Requirements and Best Practices
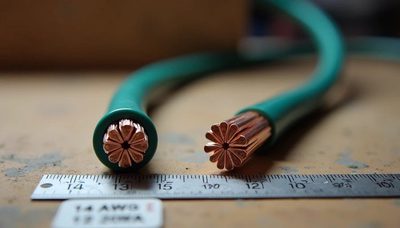
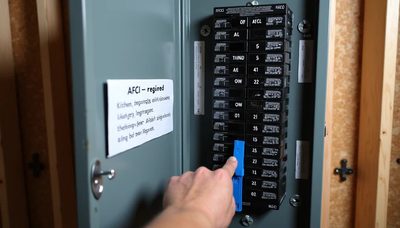
You need a dedicated 15-amp circuit. Run 12/2 UF-B (underground feeder) or THHN in conduit from the panel to a weatherproof junction box at the roofline. From there, use low-voltage cable (typically 18/2 or 16/2) rated for outdoor use to each light segment. Keep voltage drop in mind: runs over 50 feet may require a thicker gauge or a power injector.
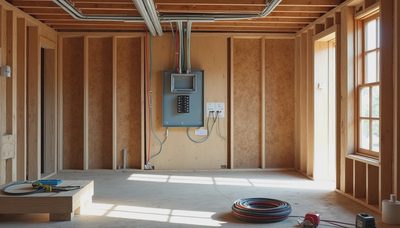
I strongly recommend running an extra empty 3/4-inch conduit from the panel to the roofline. Even if you don't pull wire now, that conduit will save you later when you decide to add holiday lighting or security cameras. The cost of the conduit is maybe $20—the drywall repair after the fact is ten times that.
Also install a junction box inside the attic or soffit with a blank cover. This gives you access for future connections without cutting into finished drywall.
Smart Home Integration and Controls
Permanent roofline lighting shines when it's smart. Plan for wired or wireless control. The best approach is a dedicated smart switch with a neutral wire—install a three-way if you want control from both the garage and a master bedroom. If you're using a hub-based system like Lutron Caséta or Philips Hue, run Cat6 cable to the hub location for reliability.
For wireless control, ensure your Wi-Fi mesh covers the roofline. Some systems require a bridge that must be near the router. I advise running a single Cat6 drop to the attic so you can place a Wi-Fi access point or a hub up there if needed. The time to run that cable is when the walls are open.
Program your roofline lights for different scenes: a warm white for everyday, a red-white-and-blue for Independence Day, and a green-and-red for Christmas. Most apps allow scheduling, so your permanent roofline lighting automatically turns on at dusk and off at bedtime.
Cost and ROI Considerations
A basic DIY permanent roofline lighting kit for a 50-foot run runs $250-$400. Professional installation adds $500-$1,200 depending on complexity. Compare that to buying new seasonal lights every few years—you'll break even in three to five seasons. Plus, permanent roofline lighting can increase home resale value, especially if it's smart-enabled and zoned.
Don't forget the tax credits: some energy-efficient LED installations qualify for the Energy Efficient Home Improvement Credit (up to 30% of cost, capped at $600). Check with your accountant, but it's worth claiming.
Common Mistakes to Avoid
- **Skipping the conduit.** Never bury the low-voltage cable directly in the wall or attic without conduit. Mice love chewing on it.
- **Underestimating power.** Some each light strip draws 1.5–2 amps per 16 feet. Calculate total wattage and ensure your transformer is oversized by 20%.
- **Ignoring local codes.** Many jurisdictions require a licensed electrician for any new circuit. Get a permit—it's cheap insurance.
- **Placing trim too early.** Install the roofline lighting channel before the fascia trim goes on. Doing it afterward means prying off trim and risking damage.
If you're mid-renovation, ask your electrician about running the homerun for permanent roofline lighting right now. The drywall hasn't gone up yet—this is your only chance to do it without remorse.
The time to run this wire is when the studs are still singing. Trust me—I've cut this drywall open twice. Don't be that guy.

No letters yet — pray write the first.