
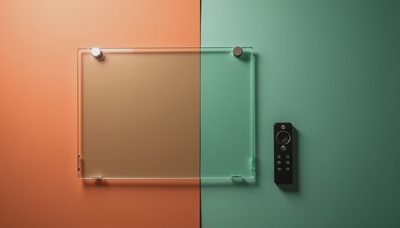
If you're in the middle of a renovation and considering blackout smart glass for your home, the time to plan the wiring is now—before the insulation goes in and the drywall goes up. Blackout smart glass can switch from transparent to opaque at the flick of a switch or via a smart home command, offering privacy and light control without curtains. But getting it right starts with the rough-in. Trust me—I've cut this drywall open twice. Here's what you need to run before the studs are covered.
Why Plan for Blackout Smart Glass Before Drywall
Blackout smart glass isn't a plug-and-play retrofit. It requires power and often a low-voltage control cable. If you skip the pre-wire, you'll be looking at expensive drywall repairs or surface-mount raceways that ruin the look. The time to run the wire is when the studs are still singing—during the rough-in stage. That gives you the cleanest installation and the most flexibility for placement. Think about where you want the glass: windows, interior partitions, or even a shower enclosure. Each location needs its own junction box and cable run.
During my last renovation, I installed blackout smart glass in a home office partition. I ran 14/2 NM-B cable from the panel to a switch box, plus a separate low-voltage Cat6 for control. It made the final connection effortless. Don't let your contractor tell you it's too early—this is exactly when to do it.

Power and Wiring Requirements for Blackout Smart Glass
Most residential blackout smart glass uses either 120V AC or 24V DC. Check the manufacturer specs before you wire. For 120V systems, a standard 15-amp circuit with 14/2 wire is typical. For 24V, you'll need a transformer (often in the ceiling or a closet) and low-voltage wiring. Always install a junction box near the glass location, even if the glass has a connector. That gives you a place to splice and makes future service easier.
I recommend running an extra conduit or Smurf tube from the junction box to the switch location. That way, if you upgrade to a different control system later, you can pull new wire without opening walls. Also, don't forget a neutral wire at the switch box—many smart switches need it. Label everything clearly. "Blackout smart glass" written on the wire with a permanent marker saves headaches come trim-out.
Integration with Smart Home Systems
Blackout smart glass plays well with platforms like Lutron, Control4, or even a simple Z-Wave switch. The key is to wire for the control method you plan to use. If you want voice control via Alexa or Google, make sure the switch or controller is compatible. Some systems require a dedicated low-voltage cable from the glass to a control module—run that now.
I've seen integrators use a dry-contact module to interface blackout smart glass with a home automation system. That means you need a 2- or 4-conductor cable from the glass to the automation hub location. Standard Cat5e or Cat6 works fine for this. Plan the path: from the glass junction box to where your automation equipment lives (e.g., structured media cabinet). Ask your electrician about this before they button up.

Installation Tips and Common Mistakes
A common mistake is not providing a continuous ground path. Blackout smart glass requires a ground for safety and proper switching. Also, some glass units have a fade-to-black feature that needs a 0-10V dimming signal—run an extra pair for that even if you don't plan to use it now. Another tip: mount the glass framing before the drywall is installed. That allows you to set the glass and make connections before the wall is sealed. Trust me—I've cut this drywall open twice.
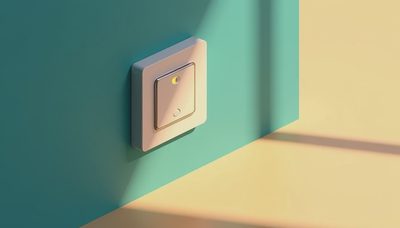
Don't forget about the switch location. Place it at standard height near the glass or at a convenient entry point. If the glass is in a bathroom, make sure the switch is outside the wet zone. Label the breaker: "Blackout smart glass — do not turn off" to avoid accidental power loss.
Cost and Savings Considerations
Pre-wiring for blackout smart glass adds maybe $100–$200 to your rough-in cost depending on wire runs and complexity. Compare that to the $500+ you'd pay for a retrofit (including drywall repair and repainting). The upfront savings are real. Plus, you get the benefit of a hidden installation—no visible wires, no surface boxes. Many homeowners bundle this with other smart home pre-wires to save on electrician travel time. If you're already wiring for shades or lighting, adding a run for blackout smart glass is minimal extra cost.
Final advice: talk to your electrician about your specific blackout smart glass model before the rough-in. Get the manufacturer's wiring diagram in hand. Run a little extra wire or conduit—it's cheap insurance. Your future self, hands free of drywall dust, will thank you.
Now go make sure that wire is in the wall before the insulators arrive. Got questions? Drop them in the comments.


No letters yet — pray write the first.