
If you're mid-renovation and thinking about security, adding an **alarm for open window** is one of those moves you'll thank yourself for every time you leave the house. Trust me — I've cut this drywall open twice because I forgot to run the wire. The time to plan this is when the studs are still singing, not after the paint is dry. An open window alarm isn't just about burglars; it's about peace of mind when the kids are playing upstairs or when you want to air out the house without worrying about an intruder climbing in.
Why You Need an Alarm for Open Window
A window left cracked open is an invitation. Whether it's a ground-floor bedroom or a second-story bathroom, an **alarm for open window** gives you instant notification when a window is moved from its closed position. Most standard alarm systems include door sensors, but windows are often overlooked. During a renovation, you have the chance to hardwire sensors into every window frame — no ugly stick-on magnets, no batteries to replace. A wired **alarm for open window** is more reliable and integrates directly with your security panel. Ask your electrician about this before they button up.

Types of Window Sensors: Wired vs. Wireless
For a new build or gut renovation, wired sensors are the gold standard. You'll run a 22/4 or 22/2 low-voltage wire from each window to your alarm panel. The sensor itself is a two-part magnetic switch: one half on the window sash, the other on the frame. When the window opens, the magnet moves away, breaking the circuit and triggering the alarm. Wireless sensors work too, especially for retrofit projects, but they require battery changes and can suffer from interference. If you're pre-wiring, go wired. Ask your electrician to run the wire before insulation goes in. An **alarm for open window** is only as good as its connection.
Pre-Wiring Tips for New Construction
Here's what you need to know before the drywall crew shows up. For each window you want to monitor, mark a path from the window frame to your main alarm panel location. Use a stud finder to avoid drilling into pipes. Drill a 3/8-inch hole in the top or side of the window frame (check your sensor instructions). Run the wire through the cavity, stapling it every 4 feet. Leave at least 6 inches of slack at both ends. Label each wire with the room and window number. This step saves hours of frustration later. An **alarm for open window** wired correctly during rough-in means you can test every sensor before the drywall goes up.
Installing a Window Alarm Sensor
Once the wire is run, installing the sensor is straightforward. For a typical recessed sensor, you'll drill a 3/4-inch hole into the window sash and another into the frame. Insert the magnet into the sash hole, and the reed switch into the frame hole. Secure with a dab of silicone to prevent rattling. Connect the wires to the sensor terminals, then run the other end to your alarm panel. If you're using a wireless sensor, simply stick the two parts on the window and frame — but again, wired is better. Every **alarm for open window** should be tested after installation: close the window, arm the system, then open the window and listen for the siren.
Integrating with Your Smart Home System
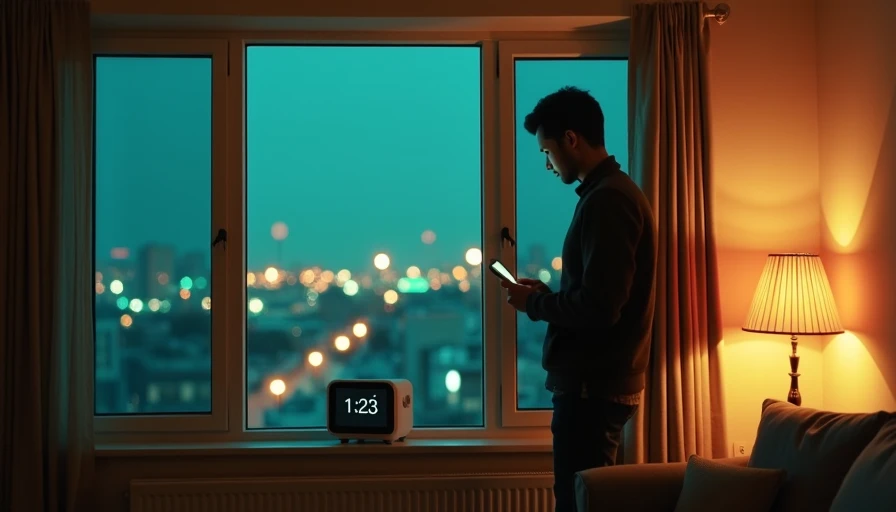
A standalone **alarm for open window** is useful, but integration with a smart home hub takes it to another level. Connect your wired window sensors to a security panel like the Honeywell Vista or a smart alarm system like Ring (with a retrofit kit). Program automations: for example, when the window opens, turn off the HVAC to save energy, or flash the lights inside to alert you. Some systems can even send a push notification to your phone. During pre-wire, run a separate cat6 cable to the window for future smart blinds or motorized shades. The same path that carries your **alarm for open window** wire can also carry power for automated curtains.
Common Mistakes to Avoid
I've seen it all. Don't mount the sensor too close to the hinge — the magnet might not separate enough to trigger the alarm. Don't forget to leave access for future sensor replacement; a small access panel in the closet works. Don't use the same wire for multiple windows in series unless your panel supports it (most don't — run home runs). And please, don't skip the permit. A licensed electrician will know your local code. One more: an **alarm for open window** is no substitute for a full security system, but it's a critical piece. Test every sensor before the drywall goes up — you don't want to cut into that fresh paint.
Final Thoughts
Adding an **alarm for open window** during your renovation is a cheap, smart upgrade that pays off in security and convenience. Whether you do it yourself or hire a pro, the key is planning. Run the wires, choose wired sensors, and integrate them with your smart system. You'll sleep better knowing every window in your home is monitored. If you're already past the rough-in stage, there are excellent retrofit options — but nothing beats the reliability of a wire in the wall.




No letters yet — pray write the first.