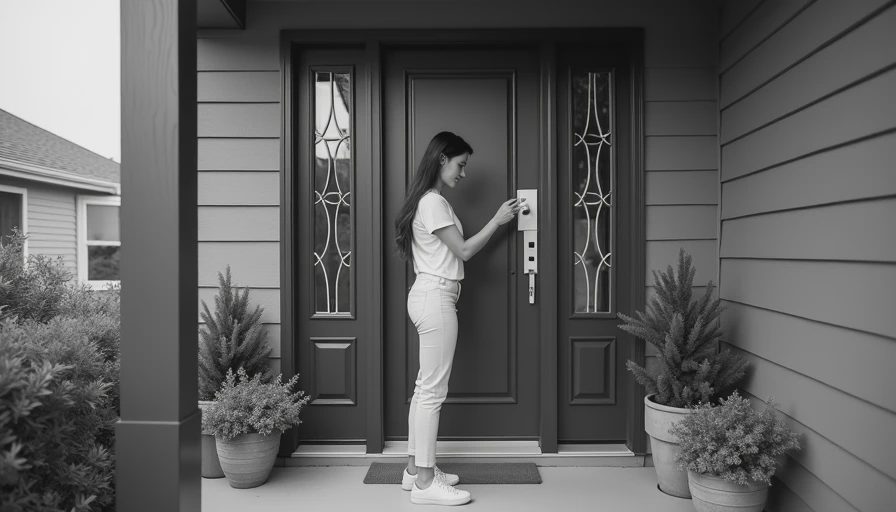
If you’re mid-renovation and thinking about front-door tech, a waterproof wireless doorbell should be on your pre-drywall checklist. Standard doorbells fail fast when rain, snow, or construction dust gets into the button housing. A true waterproof wireless doorbell keeps working through weather and debris, and it saves you from cutting into finished walls to replace a dead unit. I’ve installed five of these in the last year alone, and I can tell you: the time to pick one is now, while the studs are still exposed.

Why You Need a Waterproof Wireless Doorbell Before the Drywall Goes Up
Most homeowners don’t think about doorbell placement until the siding is on. But a waterproof wireless doorbell gives you flexibility that a wired unit can’t match. You can mount it anywhere—even on a gate, fence, or detached garage—without worrying about corrosion or water damage. During a renovation, you’ll have dust, paint drips, and moisture in the air. A cheap doorbell might survive a year inside a weatherproof box, but a dedicated waterproof wireless doorbell is sealed to IP65 or higher. That means it repels water jets and particle ingress. Trust me—I’ve cut open a drywall to replace a failed unit that rusted from the inside out. Don’t be that person.
What to Look for in a Waterproof Wireless Doorbell During Your Renovation
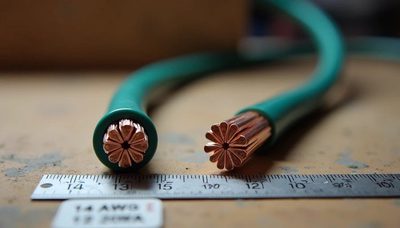
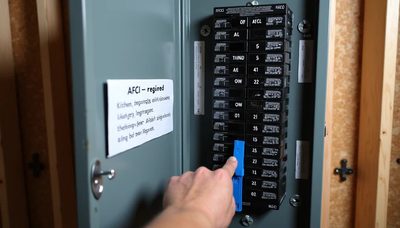
When you’re shopping for a waterproof wireless doorbell, focus on three things: ingress protection (IP rating), power source, and range. Look for at least IP65; IP67 is better if you live in a flood-prone area. Battery-powered models are easiest to install, but you’ll need to change batteries every 6–12 months. Hardwired units (like Ring Pro or Nest Hello with a resistor bypass) offer constant power but require a transformer and wiring at the rough-in stage. Range matters too: if your doorbell transmitter is far from the chime receiver, test the range in your actual house. Concrete and steel studs cut wireless range by half. I always run a 16-2 low-voltage wire from the transformer location to the doorbell spot, even if you plan to use a battery model. That way, you can switch later without tearing out drywall.
Top Waterproof Wireless Doorbell Models for 2025
Here are three waterproof wireless doorbells that I’ve personally installed in renovation projects:
- **Remo+ RemoBell S**: Battery-powered, IP65, 1080p camera, and excellent range (up to 500 ft line-of-sight, about 150 ft through walls). No subscription required for basic motion alerts. The chime plugs into any outlet. Best for budget-conscious builds.
- **Ring Video Doorbell 3 Plus**: Hardwire or battery, IP55 (good but not fully waterproof—use a weatherproof box). Pre-roll feature catches events before the button is pressed. Works with Alexa. Requires a subscription for recordings.
- **AOSU Wireless Doorbell Camera**: Solar-powered, IP65, 2K resolution, and local storage via base station. No monthly fees. Ideal for off-grid or detached garage applications.
Each of these qualifies as a genuine waterproof wireless doorbell, but the Remo+ is the most affordable at around $120, while the Ring and AOSU run $150–$200. Consider your climate: if you get heavy rain, spring for a unit with a gasketed battery compartment and silicone button cover.

Installation Secrets from an Electrician
Installing a waterproof wireless doorbell mid-renovation is straightforward if you follow these steps:
- **Choose a mounting spot** that’s under an eave or porch overhang. Even a waterproof unit lasts longer with some overhead protection.
- **Run low-voltage wire** from your planned transformer location to the doorbell spot, even if you’re using battery. This gives you the option to hardwire later. Use 16/2 landscape wire for underground runs.
- **Mount a weatherproof box** behind the doorbell. I use a Carlon 1-gang PVC box. It keeps moisture away from the connections and makes future swaps easy.
- **Test the wireless range** before the drywall goes up. Press the doorbell button and listen for the chime. If it doesn’t ring, move the chime receiver closer or add a Wi-Fi extender.
- **Seal the screw holes** with silicone caulk. Water finds unsealed penetrations, even in a rated doorbell. A dab of clear RV silicone is cheap insurance.
Take a photo of your wire run before the drywall is hung. You’ll thank yourself later when you need to locate that wire.
Common Mistakes to Avoid
I’ve seen people skip the waterproof rating because they think “wireless” means weatherproof. It doesn’t. A non-weatherproof wireless doorbell will fail in one season of rain. Another mistake is mounting the chime receiver in a damp basement—it rusts internally. Place the chime in a dry living area. And don’t assume that a big battery lasts forever. High-use doorbells with cameras drain power fast. If you’re installing a waterproof wireless doorbell with a camera, plan for battery changes every 3–4 months or hardwire it from the start.
Final Thoughts
A waterproof wireless doorbell is one of those small decisions that pays off big during a renovation. It gives you a functional doorbell immediately—no need to wait for trim carpentry—and it survives the dust storm that is construction. Whether you choose a budget Remo+ or a feature-packed Ring, the key is to plan the wiring and mounting before the walls close. Ask your electrician about this before they button up. The time to run that wire is when the studs are still singing.


No letters yet — pray write the first.