If you're planning a renovation and thinking about a smart ceiling fan, the time to make decisions is before the drywall goes up. Trust me — I've cut this drywall open twice because I didn't plan ahead. A smart ceiling fan isn't just a light fixture with a remote; it's a system that requires proper wiring, switch compatibility, and integration with your smart home hub. Here's what you need to know so you don't end up with a fan that only works with its own app and a wall switch that does nothing.

Planning Your Smart Ceiling Fan Before Drywall
Before the studs are closed up, run the right wires. Most smart ceiling fans need a neutral wire at the wall switch, and some require a separate traveler for reverse control or light dimming. Standard ceiling fan wiring is 12/3 or 14/3 between the switch and the fan box, but if you want full smart control without a wall remote, you'll want a 14/4 wire (black, red, white, blue, ground). That extra conductor lets you isolate the fan motor and light on separate switches, which is essential for many smart fan controllers like the Lutron Caséta fan control or the Bond Bridge.
Another pre-drywall move: install an octagon box that's rated for fan support (at least 50 lbs) and has a deep enough junction box to handle all wires. If you're doing multiple fans, run a separate homerun for each from the panel — daisy-chaining fans can cause voltage drop and compatibility headaches.
Wiring Requirements for Smart Ceiling Fans
Most retrofit smart fans (like those from Hunter or Hampton Bay with built-in Wi-Fi) only need a neutral and hot from the wall, plus the traveler if you want the wall switch to control the light separately. But if you're using a smart fan controller or a wall-mounted motor speed control, check the documentation. Many require a dedicated neutral, and some (like the Zooz Z-Wave fan controller) need a load wire that's not shared with anything else.
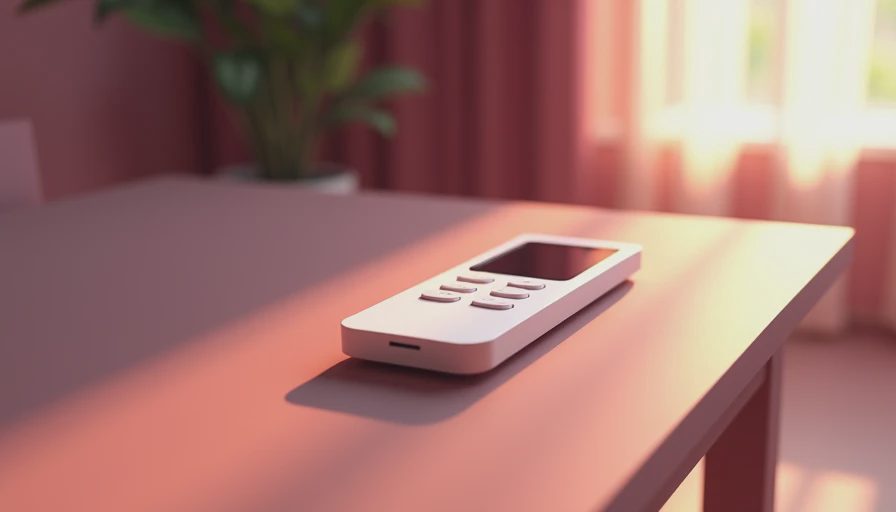
If you're going with a high-end model from Big Ass Fans or Minka Aire, their integrated smart systems often use radio frequency remotes, so the wall switch can be simple but the fan itself needs constant power. In that case, wire the fan with a permanent hot and use a smart switch that sends a signal via zwave or zigbee, or use a smart bridge like the Bond that learns the fan's RF codes. This is the route I recommend for most Reno projects — it keeps your wall clean and your smart hub happy.
Choosing the Right Smart Ceiling Fan for Your Space
Not all smart ceiling fans are created equal. If you're integrating with a system like SmartThings, HomeKit, or Alexa, verify native compatibility. Fans that require a proprietary hub (like some from Smarter Home) can be a hassle. Look for fans that support Matter or have direct integration with your preferred platform. Also consider the blade span and motor type: DC motors are quieter and more energy-efficient, and they usually have reverse modes built in for winter use.
For a master bedroom, a 52-inch fan with a light kit and a remote that can dim both light and fan speed separately is ideal. Brands like Hunter, Casablanca, and Minka Aire offer models that pair well with smart controls. Don't forget to check the downrod length — a standard 3-4 inch drop may not be enough for a sloped ceiling, so order a longer downrod if needed.
Installation Tips from an Electrician
When you install the fan, follow the manufacturer's instructions for balancing and blade alignment. A wobbling fan is not just annoying — it wears out the motor faster. Use a ceiling fan box brace that's rated for the weight, and make sure all connections are tight. For smart fans, pairing is usually done through an app or by flipping the wall switch on and off a few times. If it fails, check that your Wi-Fi router is not too far — a mesh network helps in large homes.
If you're using a smart switch like the Lutron Caséta fan control, wire the switch's red wire to the fan's motor wire (typically black), and the switch's black wire to the supply hot. The neutral goes to the neutral bundle. Don't forget to tag the breaker and test with a non-contact voltage tester before touching anything.
Integrating with Your Smart Home Hub
Once the smart ceiling fan is installed, add it to your smart home hub. For HomeKit, use the Home app to assign it to a room and create automations like turning on the fan when the temperature hits 78 degrees. For Alexa, enable the skill and discover devices. For smart fans that use the Bond Bridge, you can use Bond's app to link it to both voice assistants and your existing hub. Pro tip: set a schedule for the fan to run during peak heat hours to save on AC costs, and use a temperature sensor like the Eve Room to trigger the fan automatically.
Common Mistakes to Avoid
One big mistake: buying a smart ceiling fan that requires its own app and doesn't integrate with your existing smart home system. Another: not checking the fan rating for wet or damp locations if installing on a covered porch. Always match the UL listing to your space. Also, don't assume any smart fan will work with a dimmer switch — fan speed controls are not dimmers. Use a dedicated fan controller or a smart fan that has a constant power setup.
Finally, if you're planning multiple fans in the same room, use a smart hub that can group them. The Bond Bridge can control up to 16 fans simultaneously, making it easy to sync them with a single voice command.
Now that you know the ropes, which smart ceiling fan model are you leaning toward for your project? Share in the comments below — we can all learn from each other's choices.


No letters yet — pray write the first.