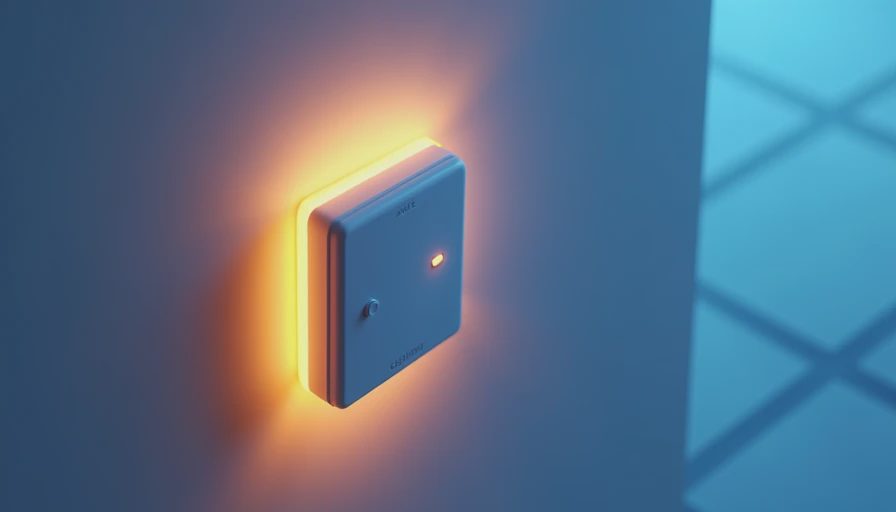
If you’re in the middle of a renovation and thinking about adding smart light switches, you’ve come to the right place. Smart light switches let you control your lights from your phone, set schedules, and even integrate with voice assistants like Alexa or Google Home. But if you don’t plan ahead, you might end up cutting into drywall later. Here’s what you need to know before the sparky buttons up those studs.
Why Plan Smart Light Switches Before the Drywall Goes Up
The biggest advantage of installing smart light switches during a renovation is access to the wiring. Once the drywall is up, adding a neutral wire—which many smart switches require—becomes a much bigger job. You might need to run new wire from the fixture or pull a neutral from another box. During rough-in, you can ask your electrician to run a neutral to every switch box, even if you don’t plan to use a smart switch right away. This simple upgrade costs little now but saves hours of labor later. Additionally, you can run spare travelers for 3-way circuits and ensure switch boxes have enough depth for the bulkier smart modules. Trust me—I’ve cut this drywall open twice, and it’s not fun.
What You Need to Know About Neutral Wires
Most smart light switches need a neutral wire to power their internal electronics. Traditional toggle switches don’t have a neutral—they just break the hot wire. So if your home was built before the 2000s, there’s a good chance your switch boxes have no neutral. During a renovation, this is the perfect time to pull a neutral to every location. Some smart switches, like Lutron Caseta, are designed to work without a neutral, but they have limitations. They use a special dimmer and require a companion remote in some 3-way setups. For most cases, a neutral is the safer bet because it gives you more flexibility in choosing brands and features. Ask your electrician to pull a white neutral wire to each box, and use a pigtail to connect it to the switch. This simple step future-proofs your home.
Dimmer Compatibility and Load Types
Not all smart light switches work with all bulbs. If you plan to use LED bulbs, check that the switch is listed as “LED-compatible” and that the total load doesn’t exceed the switch’s rating. Some smart dimmers have a minimum load requirement—they need at least one incandescent bulb in the circuit to function properly, though newer models like the Leviton Decora Smart series handle low loads well. Matching your smart light switches to your lighting type is crucial to avoid flickering or buzzing. When in doubt, pick a switch that supports both dimmable LEDs and incandescents. Also consider the wattage rating: a typical dimmer handles 600W incandescent, but for LEDs it might be 150W. Count your bulbs and add up the wattage before buying. And remember, if you’re using a smart switch on a multi-gang box, heat buildup can be an issue—leave some airflow around the switches.
Connectivity Options: Wi-Fi, Z-Wave, or Zigbee
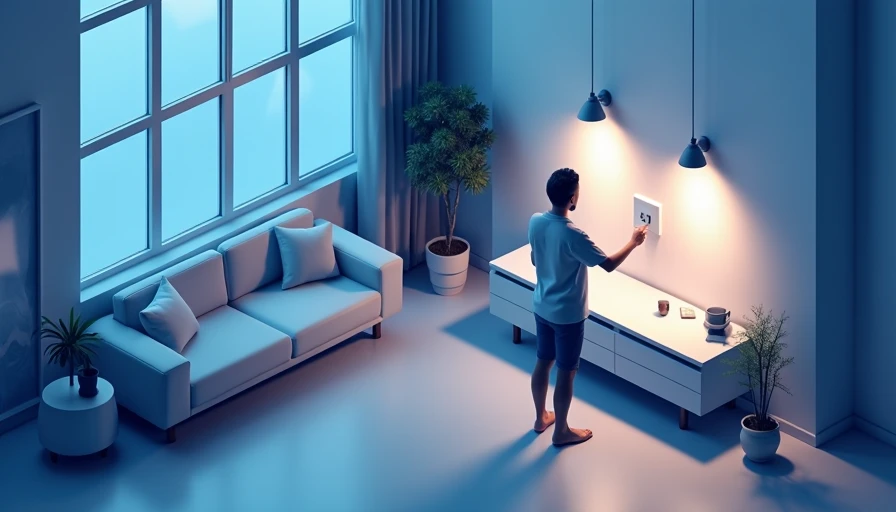
Another key decision is how your smart light switches will communicate. Wi-Fi switches (like TP-Link Kasa) connect directly to your router and don’t need a hub. They’re easy to set up and work with voice assistants, but they can congest your network if you have many devices. Z-Wave and Zigbee switches require a hub but create a mesh network that’s more reliable and doesn’t tax your Wi-Fi. For a whole-home renovation, a hub-based system like Hubitat or SmartThings with Z-Wave switches (e.g., GE Enbrighten) can be more robust. Keep in mind that Z-Wave operates on a different frequency than Wi-Fi, so interference is less of an issue. If you already have a smart home hub, stick with its native protocol. Otherwise, Wi-Fi is fine for a few switches, but consider Z-Wave if you’re installing more than ten.
Which Smart Light Switch Brands Work Best for Renovations
For a full-home setup, consider brands that offer a wide range of switches, dimmers, and motion sensors. Lutron Caseta is a popular choice because it doesn’t require a neutral, works with most load types, and has a reliable hub. However, it uses proprietary communication (Clear Connect) that can limit integration with other smart home systems. On the other hand, Leviton Decora Smart switches use Wi-Fi or Z-Wave and support multiple third-party platforms. Another option is TP-Link Kasa, which is affordable and easy to install but requires a neutral and a strong Wi-Fi connection. During rough-in, make sure your switch boxes have enough depth for the larger electronic modules inside—at least 2.5 inches. Also, test one switch before installing all of them to ensure compatibility with your wiring and loads.
Common Mistakes to Avoid When Installing Smart Light Switches
One frequent mistake is mixing up line and load wires. The line wire brings power from the breaker, while the load goes to the light. If you reverse them, the switch may not work or could be a safety hazard. Always label wires before removing the old switch. Another error is using a smart light switch on a multi-location (3-way or 4-way) circuit without checking compatibility. Many smart switches need special companion switches or require you to bypass the traveler wires. Consult the manufacturer’s instructions and, if in doubt, hire a licensed electrician. Also, don’t forget to update the firmware right after installation—manufacturers often release fixes for connectivity issues. And finally, never exceed the maximum wattage rating; an overloaded switch can overheat and fail.
Final Checklist for a Smart Switch Installation
Before the drywall crew arrives, go through this list:
- [ ] Neutral wire present in every switch box (or choose no-neutral switches).
- [ ] Box depth at least 2.5 inches to accommodate the switch body.
- [ ] Circuit breakers labeled and power off before work.
- [ ] Smart light switch chosen for your specific loads (LED, dimmable, etc.).
- [ ] Spare traveler wires run for 3-way setups.
- [ ] Wi-Fi or network infrastructure ready for hub-based switches.
- [ ] Test one switch before finishing the drywall.
With these steps, your smart light switches will work reliably for years. And if you’re still unsure, post your wiring diagram on the Smart-Ready Home Forum—someone’s probably been in your walls too.



No letters yet — pray write the first.