If you're planning a smart home renovation, one of the first decisions you'll face is which smart deadbolt lock to install on your front door. The right choice goes beyond convenience—it affects your home security, daily routines, and even how you manage access for guests or contractors. Whether you're a DIY homeowner or working with an electrician, this guide will walk you through what matters most, from features and wiring to installation and integration.
When you're still in the rough-in stage, before the drywall goes up, that's the ideal time to run wires and plan for a smart deadbolt lock. Trust me—I've cut this drywall open twice because I didn't think ahead. But even if your renovation is done, there are great retrofit options that require no new wiring.
What Features Matter in a Smart Deadbolt Lock
Not all smart deadbolts are created equal. Start with connectivity—do you want Wi-Fi, Z-Wave, Zigbee, or Bluetooth? Wi-Fi locks (like the August Wi-Fi Smart Lock or Schlage Encode) connect directly to your network and don't need a hub, but they drain batteries faster. Z-Wave and Zigbee locks (like Yale Assure Lock with Z-Wave or Kwikset 916) require a smart home hub but offer better range and lower power draw. Bluetooth locks (like the Ultraloq U-Bolt Pro) work well close to your phone but lack remote access unless paired with a bridge.
Other critical features include auto-lock and auto-unlock (geofencing), built-in alarm sensors for tampering, keypad or fingerprint options for keyless entry, and a physical key backup in case of battery failure. Weather resistance matters too—if your door gets direct rain or sun, look for an IP rating and durable finishes.
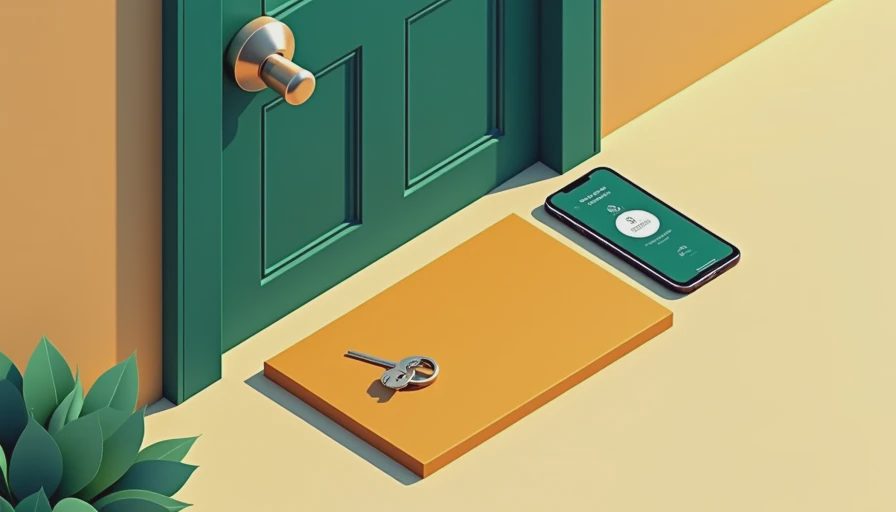
Entry-level smart deadbolts start around $80–$120, while premium models with fingerprint readers and Z-Wave plus Wi-Fi cost $200–$300. Don't skimp on the strike plate—a reinforced one with 3-inch screws can make a huge difference in security.
Wiring and Power Considerations
For a new build or major renovation, you can run low-voltage wire to the door frame for hardwired power. This eliminates battery changes and ensures the smart deadbolt lock always has power. Use 18/2 or 22/4 wire from your smart home panel or a nearby outlet, terminating in the door jamb with a jumper to the lock. This also lets you add a door sensor that detects open/closed status. If you're not wiring, most locks use 4 AA batteries and last 6–12 months depending on usage. Look for models with low-battery alerts sent to your phone.
For integrators: The best time to run this wire is when the studs are still singing. You'll thank yourself later when you don't need to fish wire through finished walls.
Installation Tips for Homeowners
Installing a smart deadbolt lock is a straightforward DIY job for most single-cylinder deadbolts (one keyhole inside, one outside). Start by removing your existing deadbolt and check the door thickness—most locks fit 1 3/8 to 2 inch doors, but a few support up to 3 inches with an adapter. Align the latch assembly so the bolt extends smoothly into the strike plate without binding. Adjust the strike plate if necessary using a chisel or file.
When mounting the lock, avoid overtightening screws—some smart locks use plastic housings that can crack. Follow the manufacturer's app setup for Wi-Fi or hub pairing. Most apps walk you through calibration for auto-lock timing and geofencing range. If you have a multi-point locking door (common on French or patio doors), you'll need a compatible smart lock or a separate adapter kit.
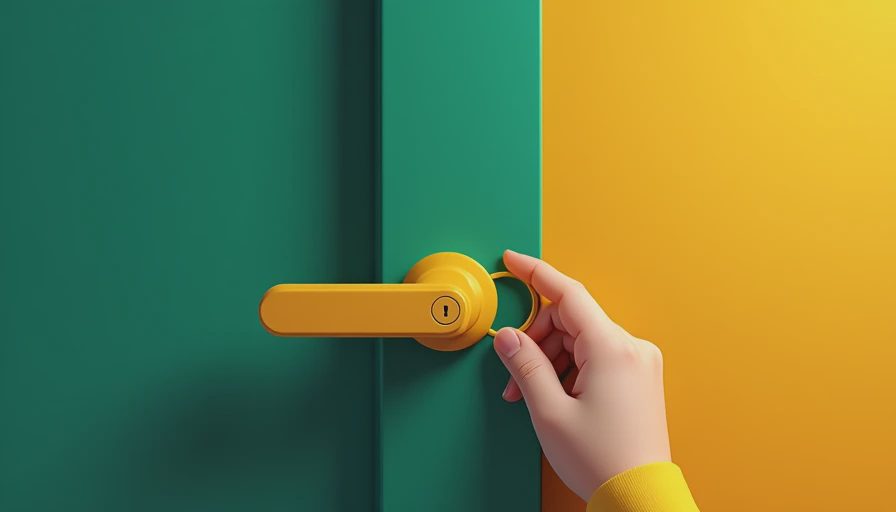
Integrating with Your Smart Home System
A smart deadbolt lock really shines when it works with your other devices. If you use Amazon Alexa, you can lock the door with your voice or create routines like "Goodnight" to lock the door, turn off lights, and set the thermostat. Google Assistant and Apple HomeKit offer similar controls. For whole-home automation, choose a lock that supports your hub: SmartThings, Hubitat, Home Assistant, or the dedicated platform from your alarm system (like Ring or SimpliSafe).
Many locks also integrate with vacation rental platforms like Airbnb to auto-generate temporary codes for guests, then expire them after checkout. This is a huge convenience if you rent out your home.
Common Mistakes to Avoid
- Forgetting to retain the original key cylinder for rekeying—some locks use proprietary shapes that require a locksmith to change.
- Choosing a lock that doesn't fit your door's backset (standard is 2 3/8 or 2 3/4 inches).
- Ignoring the finish—brushed nickel and matte black resist fingerprints better than shiny brass.
- Not checking the hub compatibility before buying. A Z-Wave lock won't work with a SmartThings V2 hub that only supports Zigbee.
- Installing the lock on a gate or storm door that lacks the structural strength for a heavy smart lock—it can bind or break.
Final Thoughts and Recommendation
For most homeowners, the best smart deadbolt lock is one that fits your door, matches your smart home system, and provides the features you actually use. If you're already in the Apple ecosystem, the Schlage Encode Plus with Home Key is a top choice—it lets you unlock with your iPhone or Apple Watch. For Z-Wave users, the Yale Assure Lock 2 with Z-Wave offers modular design and a sleek look. Budget-conscious DIYers will appreciate the Wyze Lock, which retrofits over your existing deadbolt for under $100.
Have you installed a smart deadbolt lock in your renovation? What surprised you during the process? Share your experience in the comments below—your insights might save someone else a second trip to the hardware store.


No letters yet — pray write the first.