How to Control Smart Lights: A Wired Homeowner's Guide
If you are in the middle of a renovation and wondering how to control smart lights, you are asking the right question. The decisions you make at the rough-in stage determine whether your smart lighting will be reliable, responsive, and future-proof — or a source of frustration that costs you time and money to fix. Let's walk through your options and what you need to wire before the drywall crew shows up.
Plan Your Wiring Before the Drywall Goes Up
The most common regret I hear from homeowners is not running a neutral wire to every switch box. Trust me — I've cut this drywall open twice. A neutral wire is required by most smart switches, including popular models from Kasa, Lutron Caseta (although Caseta works without a neutral in some configurations, the standard version needs one), and Zooz. If you skip the neutral, you limit yourself to a handful of battery-powered or no-neutral switches that are less reliable and more expensive per unit. Before the walls close, ask your electrician to pull a neutral to every single switch location. Budget $50–$100 per switch for the extra wire run if it's a retrofit, but during new construction it's pennies.
Choose Your Control Method: Switches, Hubs, Voice, or App
There are four main ways to control smart lights, and most modern setups use a combination:
- Physical wall switches – These are the most intuitive for guests and family. Smart switches like the Lutron Caseta Diva or Leviton Decora Smart Wi-Fi give you both paddle control and remote access. They replace your existing switch and connect over Wi-Fi or a dedicated hub.
- Central hubs – A hub like the Hubitat Elevation, Samsung SmartThings, or Philips Hue Bridge acts as the brain. It allows local control (no internet required) and lets you trigger complex scenes — like “goodnight” that turns off all lights and locks the doors.
- Voice assistants – Amazon Alexa and Google Assistant can turn lights on and off and adjust brightness. Voice control is great for hands-free moments but can be laggy if your Wi-Fi network isn't robust.
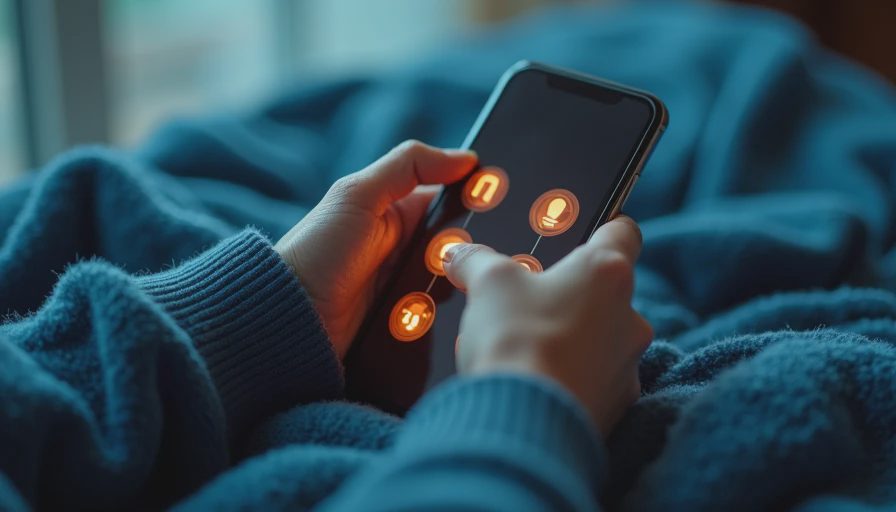
- Smartphone apps – Every smart switch and bulb comes with its own app. This works well for setup and one-off commands, but relying on your phone for everyday use gets old fast.
My recommendation: Hardwire smart switches for primary rooms (kitchen, living, bedrooms) and use smart bulbs with a hub for accent lighting where you want color or dimming control.
What to Run at Rough-In: Neutral Wires and Communication Cables
When you're planning how to control smart lights, the biggest wiring decisions happen before insulation goes in. Here's what to run:
- Neutral wire – Absolutely non‑negotiable. Even if you decide on a hub‑based system today, having a neutral at every box gives you the freedom to swap to any switch later. The cost? About $0.50 per foot for 14‑gauge wire, plus labor.
- Low‑voltage cabling – For systems like Lutron RadioRA 3 or Control4, you may need Cat5e or Cat6 cable between keypads and the main processor. Run a pull string even if you don't cable it now — it's cheap insurance.
- Three‑way and four‑way wiring – If you want smart switches controlling lights from multiple locations, make sure your electrician runs travelers and a neutral to each switch position. Standard traveler wiring works with most smart switches that support companion dimmers (like the Lutron Caseta Pico remote).
A typical home with 30 switch locations will cost $300–$600 extra for neutrals during rough‑in. That's a fraction of what you'd pay to add them later.
Integrate Smart Lights with Other Systems
Your lighting doesn't have to live in a bubble. Most smart hubs can talk to motion sensors, door sensors, and daylight sensors. For example:
- Occupancy sensors – Install a Lutron Maestro occupancy sensor in hallways and bathrooms to turn lights on when you enter and off after you leave. This saves energy and adds convenience.
- Daylight harvesting – If you have a room with lots of natural light, a smart switch with an ambient light sensor can keep lights off when the sun is bright enough. Systems like Philips Hue use a separate sensor or your phone's geolocation.
- Scene controls – A single button press can set the kitchen lights to 50% for cooking, the dining area to 100% for cleaning, and the under‑cabinet lights on. This requires a hub and compatible switches, but the wiring is the same — just make sure you have a way to trigger the scene, like a keypad or voice.
Ask your electrician to run a three‑conductor low‑voltage wire (like 22/3) between your sensor locations and the hub or main switch bank. It's a small investment that enables big automation.
Common Mistakes That Cost You Time and Money
I see these mistakes over and over:
- Skipping neutrals to save $200 – You'll regret it as soon as you try to install a $35 Kasa switch that needs a neutral. The retrofit cost is $150–$300 per switch.
- Using Wi‑Fi smart bulbs everywhere – Wi‑Fi bulbs clog your network if you have more than 10–15. Use a hub‑based system (Zigbee or Z‑Wave) for reliability.
- Forgetting about three‑way circuits – If you have lights controlled from two switches, not all smart switches work in that configuration. Lutron Caseta and Inovelli switches support it with add‑on dimmers.
- Buying switches before the wiring is done – Wait until you know your neutral availability and box depth. Some smart switches (like the GE Enbrighten Z‑Wave) require a deeper box.
Final Checklist for a Smooth Smart Lighting Installation
Before your electrician finishes the rough‑in, walk through this list:
- [ ] Neutral wire at every switch box.
- [ ] Cat5e or Cat6 pulled to main hub location (closet, basement, or structured media center).
- [ ] Low‑voltage wire for motion and daylight sensors.
- [ ] Box depth at least 2.5 inches to accommodate bulky smart switches.
- [ ] Label all wires at the panel and at each box.
- [ ] Take photos of the walls before drywall so you know where cables run.
Getting these details right now means your smart lighting will work without glitches. If you are still early in the planning phase, talk to your electrician about these points. Most of them have seen the headaches and will appreciate you asking. The time to figure out how to control smart lights is when the studs are still open, not after the paint is dry. For more wiring guides and community advice, browse the renovation stage threads on this forum.


No letters yet — pray write the first.