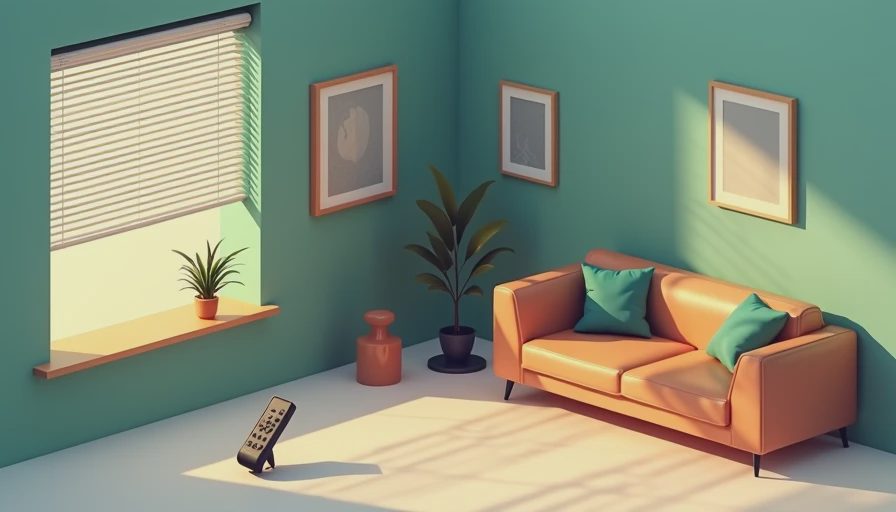
If you're planning a renovation and want remote blinds for windows, the time to think about wiring is before the drywall goes up. I've seen too many homeowners cut open finished walls because they skipped this step. Trust me — it's a lot cheaper to run the right cables when the studs are still singing. In this guide, I'll walk you through exactly what wire to run, where to run it, and how to avoid the mistakes that turn a simple automation into a drywall repair project.
Why Pre-Wire for Remote Blinds
Most battery-powered blinds work fine out of the box, but they become a nuisance when you have a dozen windows and the batteries die every few months. Pre-wiring gives you the flexibility to choose hardwired motorized blinds that integrate with your smart home system. If you're building or gut-renovating, there's no good reason to rely on batteries. Run a low-voltage power cable and a control wire to each window, and you'll never have to change a battery again. Plus, hardwired blinds respond faster and can be controlled via wall switches, remotes, or voice assistants.
Power Options for Motorized Blinds
Your two main options are a centralized low-voltage system or a plug-in transformer at each window. Centralized is cleaner: run a 2-conductor 18/2 or 16/2 wire from each window back to a central location where you install a power supply (typically 12V or 24V). This keeps the transformers out of sight and gives you a single point for battery backup. I recommend using a 16/2 structured cable for runs under 100 feet; for longer distances, step up to 14/2 to avoid voltage drop. If the window is near an outlet, you can also use a plug-in adapter, but that's less attractive and limits control options.

Control Wiring: What You Need
Beyond power, you need a control wire. Most motorized blinds use a simple 2-wire or 4-wire interface for up/down and stop commands. For future-proofing, run a Cat5e or Cat6 cable (or at least a 4-conductor 22/4 wire) to each window. This lets you integrate with systems like Lutron, Somfy, or Zigbee-based controllers. Even if you're undecided on the brand, run the wire. The cost is pennies per foot compared to later labor. Label both ends of every cable with the window location — you'll thank yourself when terminating.
When to Install the Wiring
Run all blind wiring during the rough-in stage, before insulation and drywall. Coordinate with your electrician so they know the low-voltage cables go in the same stud cavities as the power. Avoid running low-voltage next to 120V lines for more than a few feet to prevent interference. I like to stub out the wires at the window header (inside the future drywall) and leave at least 12 inches of slack. At the central panel, leave 3-4 feet of slack for a neat termination. Take photos before the drywall goes up — you'll forget exact locations.

Integration with Smart Home Systems
Hardwired remote blinds for windows can be tied into your smart home hub via dry-contact relays or serial interfaces. If you're using a system like Control4, Crestron, or Home Assistant, the control wires connect to a relay module (e.g., a 2-channel relay for each blind). For simpler setups, Somfy's RTS protocol works with their own remotes and doesn't need extra wiring beyond the motor itself. If you want voice control, run an extra Cat6 to the head-end so you can add a bridge later. The key is to leave yourself options — it's easier to terminate a wire you don't use than to fish one through finished walls.
Common Mistakes and How to Avoid Them
The biggest mistake is not running a wire at all, assuming batteries will suffice. The second is running a single small-gauge wire and discovering voltage drop on a long run. Use 16/2 or 14/2 for power, and don't skimp on the control wire. Another common error is forgetting to leave a service loop at the window — motors need a few inches of slack to connect securely. I also see people bundle low-voltage wires with high-voltage romex in the same staples; that's a code violation and can induce noise. Keep them separated by at least 12 inches. Finally, test each wire before drywall: use a multimeter to verify continuity and polarity.
Final Verdict: Pre-Wire Every Window
If you're renovating, pre-wiring for remote blinds for windows is a no-brainer. The total cost for wire and a power supply is under $200 for most homes, but installing it after drywall can easily run $500 per window in labor and patching. I've been inside walls that were cut open twice — don't be that homeowner. Talk to your electrician about low-voltage wiring early, and add it to your construction drawings. Your future self will thank you every time you tap a button or tell Alexa to close the blinds.
Do you have any questions about specific blind brands or wiring scenarios? Drop a comment below — I've wired everything from single casement windows to whole-home automated shades, and I'm happy to help.


No letters yet — pray write the first.