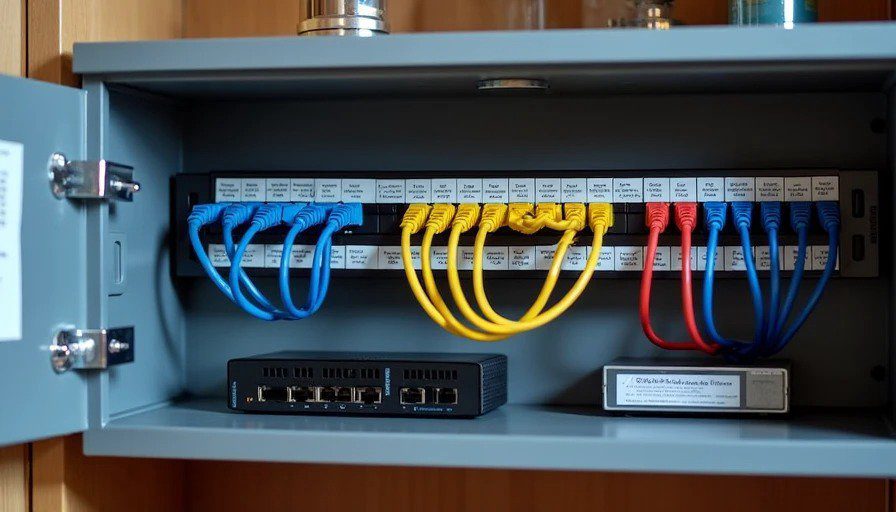
Six months ago, I posted a frantic thread asking for advice on how to organize my wiring closet before the drywall went up. I had a 42" structured media enclosure, a 24-port patch panel, a spool of Cat6, and absolutely no idea what I was doing. The responses were brutal, helpful, and exactly what I needed.
Today, I'm posting the after photos. Not because it's perfect – it's not – but because I promised I'd share what worked, what didn't, and what I'd change if I had to do it all over again.
This is my wiring closet. It's not the neatest one you'll ever see. But it's mine, it works, and it survived six months of actual use, actual dust, and actual family members asking "what's all this for?"
The before: chaos with potential
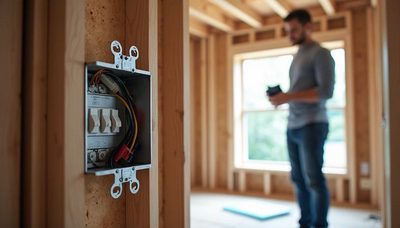
Let me set the scene. My structured media cabinet is in the basement, right below the main electrical panel. It's a 42" Legrand enclosure, mounted flush with the studs, with a hinged cover. Before drywall, it looked like a spiderweb of blue Cat6 and orange coax, with cables hanging everywhere, no labels, and a vague promise that "future me" would sort it out.
Future me is now present me. And present me has opinions.
The labeling system – what I did
I spent hours researching labeling systems. I read threads about heat-shrink labels, QR codes, spreadsheets, and color-coded zip ties. In the end, I went with something that balanced effort and practicality: a hybrid system of printed labels, a spreadsheet, and a physical map.
Here's the exact system:
1. Cable IDs: Every cable has a unique ID in the format [Room]-[Type]-[Number].
For example:
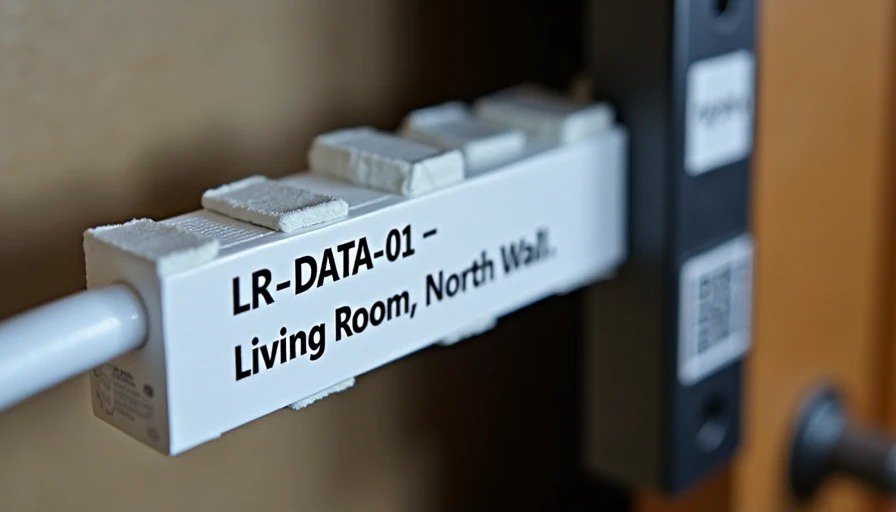
LR-DATA-01= Living Room, Data (Ethernet), Port 1MB-AV-02= Master Bedroom, AV (HDMI/Coax), Port 2KT-AP-01= Kitchen, Access Point, Port 1
I printed these labels on a Brother P-touch label maker with laminated tape (not the standard paper tape – the laminated stuff doesn't fade or smudge). I applied one label at the patch panel end and one at the wall plate end.
2. Color coding: I didn't go full rainbow, but I did use three colors:
Blue labels for standard data (computers, printers, streaming devices)
Yellow labels for access points (Wi-Fi, mesh nodes)
Red labels for security cameras (PoE)
This makes it easy to glance at the patch panel and know which cables are critical for security vs. just general use.
3. The spreadsheet: I maintain a Google Sheet with the following columns:
Cable ID
Room
Wall plate location (e.g., "North wall, behind TV mount")
Patch panel port number
Switch port number
Device connected (if any)
Date installed
Notes (e.g., "This port is PoE-enabled for the camera")
This spreadsheet is linked to a QR code that I stuck inside the cabinet door. Anyone with a phone can scan it and see the entire map.
4. The physical map: I printed a one-page schematic of the house, with all the wall plate locations marked, and taped it to the inside of the cabinet door. It's not to scale, but it shows which room has which ports, and it's a quick reference when I don't want to pull out my phone.
The patch panel – front and back
My patch panel is a 24-port Keystone panel. I went with Cat6 pass-through connectors – the kind that have a Keystone jack on the front and a punch-down on the back. I terminated every cable with a proper punch-down tool, leaving about 12 inches of service loop behind the panel.
The front: every port is labeled with a small numbered sticker that matches the spreadsheet. Port 1 is LR-DATA-01, Port 2 is LR-DATA-02, and so on. The patch cables are 6-inch Cat6 cables, color-coded to match the port labels:
Blue patch cables for data
Yellow for access points
Red for cameras
The back: I zip-tied the cables into neat bundles, with a service loop that's long enough to pull the panel forward if I need to. I also used a cable management bar (attached to the cabinet frame) to keep the bundles from sagging onto the switch below.
Six months of lessons learned
Lesson 1: Labeling is only useful if you update it.
I have three cables that are unlabeled because I added them after the initial install. They're currently labeled with a Sharpie on the sheathing, which is fading. I need to go back and print proper labels. My rule going forward: no cable gets installed without a label printed and applied the same day.
Lesson 2: Service loops are not optional.
I left a generous service loop on every cable, and I'm so glad I did. I've already had to re-terminate two cables because I accidentally cut a Keystone jack wrong. Without the loop, I would have had to re-pull the entire run.
Lesson 3: Cable management is a continuous process.
It looked amazing on day one. Now, six months in, there's dust, a few cables have shifted, and the bundle isn't as neat as it used to be. I've learned to accept a certain level of entropy – but I also schedule a "cabinet cleanup" once every three months.
Lesson 4: Heat kills everything.
My enclosure is in the basement, which is cool, but the switch and the router produce heat. I added a small 120mm fan to the top of the cabinet, blowing outward, and a passive vent at the bottom. That keeps everything running at a comfortable temperature.
Lesson 5: You will never have enough ports.
I filled all 24 ports within three months. I've already added a small 8-port switch next to the main switch for expansion. If I were doing it again, I'd spec a 48-port patch panel from the start.
What I'd change
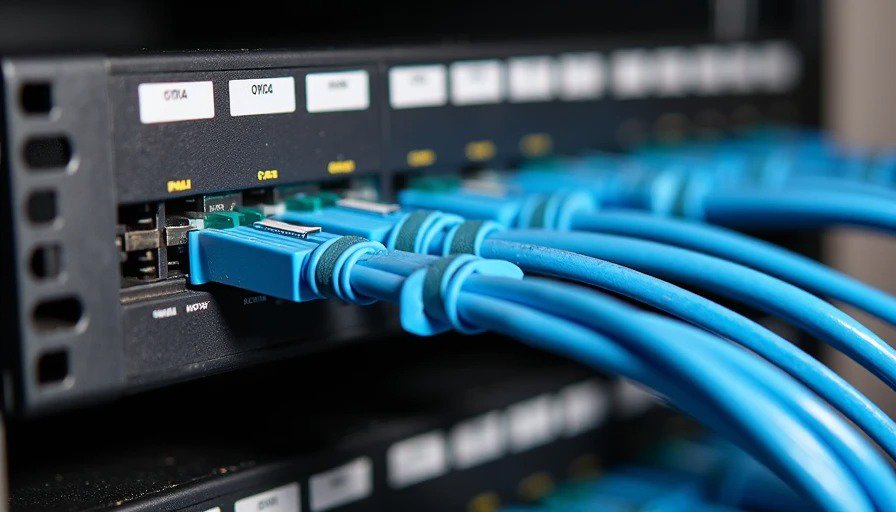
1. Bigger cabinet. The 42" is fine, but it's cramped. I have a power strip, a router, a 24-port switch, and a small server in there. The cables take up more space than I expected. If I had a do-over, I'd go with a 48" cabinet or even a full 19" rack.
2. Label placement. I placed the labels on the side of the cables, which is great for the patch panel end but hard to read when the cabinet is closed. Next time, I'll place labels on the top of the cables, facing upward, so they're visible from the front.
3. The spreadsheet needs a backup. I have a Google Sheet, but if I lose access to that, I'm stuck. I printed a physical copy and put it in a binder, but I also need to sync it to a local file.
4. Cable colors. I color-coded based on function, but I wish I'd also used different colors for different rooms. For example, all master bedroom cables in green, all living room in blue, etc. That would make tracing even easier.
5. Velcro over zip ties. I used zip ties for the initial bundle, but I've switched to Velcro straps for any new cables. Zip ties are permanent; Velcro is adjustable and reusable.
No letters yet — pray write the first.