If you're in the middle of a renovation and have skylights or roof windows, you've probably realized that a manual crank or pole isn't going to cut it for daily use. A **roof window opener** isn't just a convenience—it's a key part of your smart home’s climate and ventilation strategy. Trust me, I've installed three of these in my own attic remodel, and the difference between a good one and a cheap one is night and day.
Why You Need an Automated Roof Window Opener
A roof window opener allows you to open and close your skylight or roof window with the push of a button—or even automatically based on rain sensors, temperature, or CO2 levels. For a smart home, this means integrating your ventilation into your morning routine or shutting windows when the forecast calls for a downpour. The time to run the wiring for these is when the studs are still exposed. If you skip this step, you'll be cutting open drywall later.
Types of Roof Window Openers
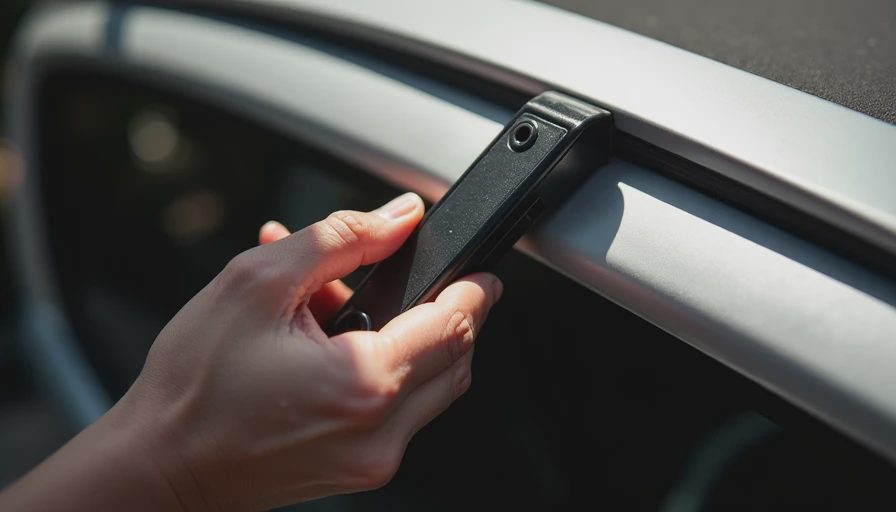
There are three main types of roof window opener: chain actuators, screw-drive actuators, and folding-arm actuators. Chain actuators (like the Velux KUX 110) are the most common for residential skylights—they're quiet and compact. Screw-drive models (Fakro ZSE) offer more force and are better for heavy windows or high wind areas. Folding-arm openers are typically used for larger commercial windows but can work for oversized roof windows. Each type has its own weight and stroke length ratings. For a standard Velux window (up to 1.2 meters), a chain actuator with a 300N force is sufficient.

Key Factors to Consider When Choosing a Roof Window Opener
Before you buy, think about these specifics:
- **Power supply**: Most roof window openers are 24V DC, low voltage. You'll need to run a cable from the actuator to a power source, which is often a transformer plugged into a nearby outlet or wired into the house electrical system.
- **Control system**: Do you want a simple wall switch, a remote control, or integration with a smart hub like HomeKit, Z-Wave, or Zigbee? Velux offers the KLF 100 interface for smart home integration, but it can be pricey ($200–$300).
- **Rain sensor**: A must-have. If you automate your roof window opener to close when it rains, you won't have to worry about moisture damage. Most sensors cost $50–$100 and wire directly into the actuator controller.
- **Manual override**: Some openers have a manual crank in case of power failure. If you go fully automated, keep a backup pole handy.
Installation Tips for a Roof Window Opener
Installing a roof window opener isn't difficult if your window is already framed, but the prep work matters. Here's what I learned from my first install:
- **Run the cable before insulation**: Use a low-voltage cable (2-core, 0.75mm² minimum) and run it from the window location to a switch or hub. Staple it to the studs so it doesn't get lost behind drywall.
- **Mount the actuator bracket securely**: The actuator attaches to the window sash and the frame. Most kits come with aluminum brackets that screw into the wood or PVC frame. Use stainless steel screws to avoid rust.
- **Test the stroke length**: Adjust the end stops on the actuator so the window opens to your desired angle—usually 30–45 degrees for ventilation.
- **Connect the power**: Wire the actuator to a 24V transformer. If you're using a smart controller, follow the manufacturer's wiring diagram. Velux and Fakro both have clear manuals.

Integrating Your Roof Window Opener with a Smart Home
Once your roof window opener is installed and wired, you can connect it to your home automation system. The most popular integrations are via dry-contact interfaces like the Velux KLF 200. This allows you to control the opener from a smart hub (Fibaro, Home Assistant, Amazon Alexa). For Z-Wave, the Fakro ZSE series has built-in Z-Wave modules, so no extra box is needed. Expect to pay about $100–$150 for a Z-Wave-enabled roof window opener, compared to $80–$120 for a basic model.
Cost and Savings Estimates
A roof window opener kit (actuator + rain sensor + transformer) runs $150–$400, depending on brand and features. Installation if done by a pro can add $100–$200 per window. But the energy savings from automated ventilation can offset that within a year or two—especially if you use the opener to cool your house at night instead of running AC. Some homeowners report saving $200–$300 annually on cooling costs.
Common Mistakes to Avoid
- **Buying an underpowered actuator**: A window that sticks or is heavy can strain a 200N actuator. Always check the window weight and use at least 300N for standard windows.
- **Forgetting the rain sensor**: I've heard too many stories of automated openers drenching a living room because no sensor was wired.
- **Not running a neutral wire**: Smart switches often need neutral. If you plan to control from a wall switch, run a 3-core cable.
Frequently Asked Questions
**Can I install a roof window opener myself?** Yes, if you're comfortable with basic electrical work and have access to the window from inside. But if you're not sure, hire a low-voltage electrician—especially for wiring the transformer.
**What if my roof window is not standard size?** Most openers have adjustable brackets and stroke lengths. Measure your window's opening width and weight before buying.
**Do roof window openers work with solar?** Yes, some models (like Fakro's solar-powered ZSX) have a built-in solar panel that charges a battery, so no wiring is needed. But they're less reliable in shaded roofs.
Final Thoughts
A roof window opener is one of those things you'll use every single day. Pick a reputable brand, run the wires during rough-in, and integrate it with your smart home for the best experience. The cost is worth it for the comfort and peace of mind. Ask your electrician about this before they button up.
If you've installed one, share your experience in the comments—what model did you use, and how did you wire it?


No letters yet — pray write the first.